Showing posts with label steps for painting process. Show all posts

Monday, March 23, 2015

How to start a painting

March 23, 2015 - Steps for a landscape painting

This is one way that I start landscape paintings  on a canvas first toned with Indian Yellow.  I usually take black and white photos as I go to be sure the dark (notan) is strong.

 Steps for a studio painting that I did from a photograph taken several years ago.  The wisteria on this porch against the color of the house looked beautiful.  The house is on Washington Ave. in Fredericksburg, Va.  It will be part of my Fredericksburg Series.   This painting is an 11 x 14. 


Step 1 - loose drawing, simplify big shapes
 
This photo shows the color of the toned canvas using Indian yellow.  The photo above was photographed in black and white. 


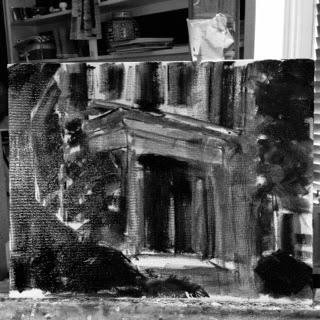
 Black and white photo of Step 2
 
Step 2 -  used dark color blocks of big simplified areas


Step 3, added opaque paint and more detail. 


I like this method because it helps maintain the darks.  Notice how the darks show through in the final painting (11x14)

Sunday, February 2, 2014

Painting Loosely

February 2, 2014

These are all reminders to me about painting loosely.  It is a look that I like and includes thinking about abstract shapes and pieces of color. 

Things that have helped me to paint loosely, keep bold brushwork and bright color:

     Maintain darks in the painting  (Dream Tolle Perry's class helped me with this) because of her use of a dark transparent underpainting. If you use the "search button" top right corner of this page, I summarized her class in an old blog posting. 

     Use deliberate brushwork and lots of paint

     Keep colors clean

(These would all be good topics for future blogs.)

Here is my latest painting where I put a lot of what I learned in Dreama's class to work. 

I try to stick to the process of doing a drawing,  a study (as many as I need to perfect the color and composition) and the final painting. 

Step 1:  Thank you to Nancy Bradley for letting me use this photo.  She is such a good photographer.


Step 2:  Study (6 x 6)


Step 3: Final Painting ( 12 x 12)


The biggest change was in the colors.  Notice the accents of complementary color on the leaves and shutters especially, another technique that Dreama taught us, taking advantage of color theory and just for the pure joy of colors you love.